Material: a thin and rip-resistant plastic - selected so there'd be no friction sliding into bicycle saddlebags
Material: also a 1" wide braided nylon strap
Size: designed to fit my bicycle saddlebags width and depth
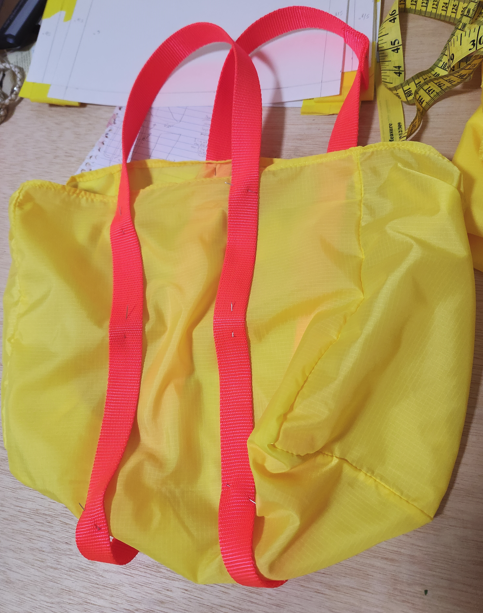
Bag dimensions are 10" high, 12" wide, 6" deep
The handle loops go up an additional 7"
The handle loops wrap under the bag and up the other side, so when holding the handles the weight of the contents is on those straps
Seam allowances: 5/8"
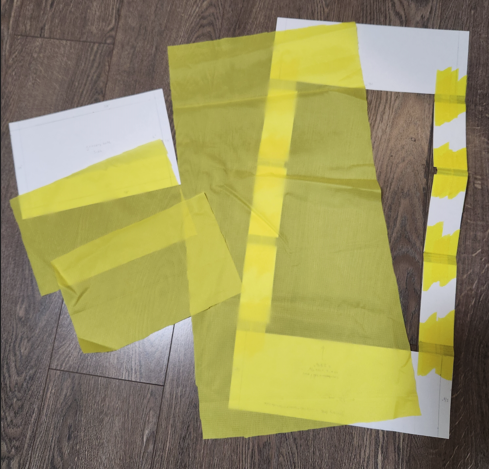
Cut out:
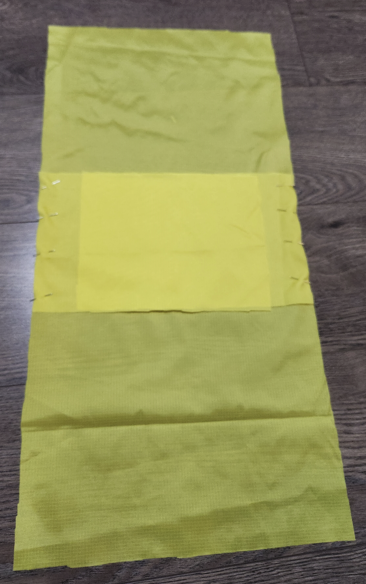
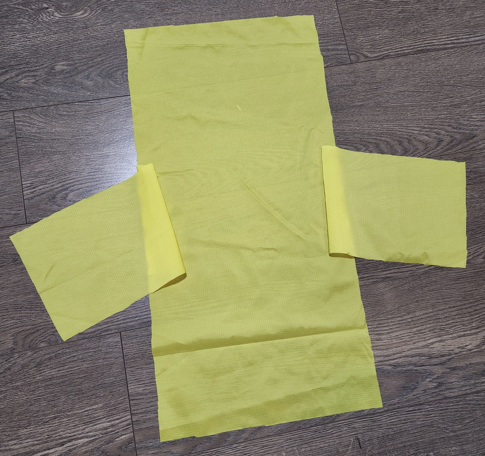
- "FRONT" one piece of cloth 13 1/4" x 27 1/4" (i.e. 12"x26" plus seam allowances) - this is the front, wraps to be the bottom, wraps to be the back also
- "SIDE" two pieces of cloth 11 1/4" x 7 1/4" (i.e. 10"x6" plus seam allowances)
- "STRAP" one nylon strap 1" wide x 82" long
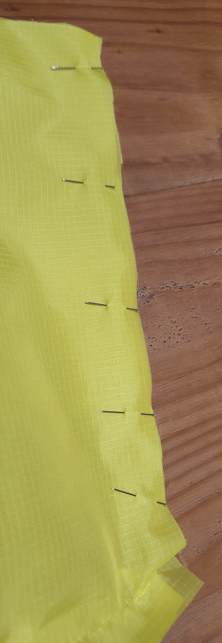
Arrange the short end of a SIDE at the middle of the long end of FRONT
Pin it in place
Arrange the short end of the other SIDE on the opposite long end of FRONT
Pin it in place
Stitch: straight, length 2
Sew along the pinned edges at seam allowance
Don't go to the edge of the SIDE cloth, leave a seam allowance
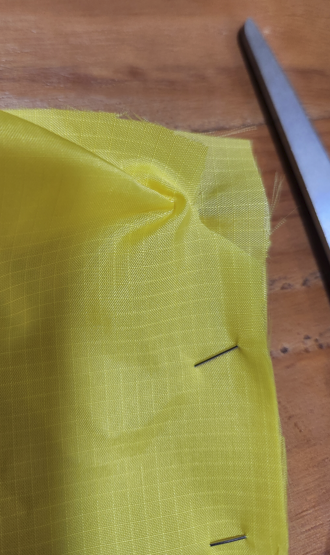
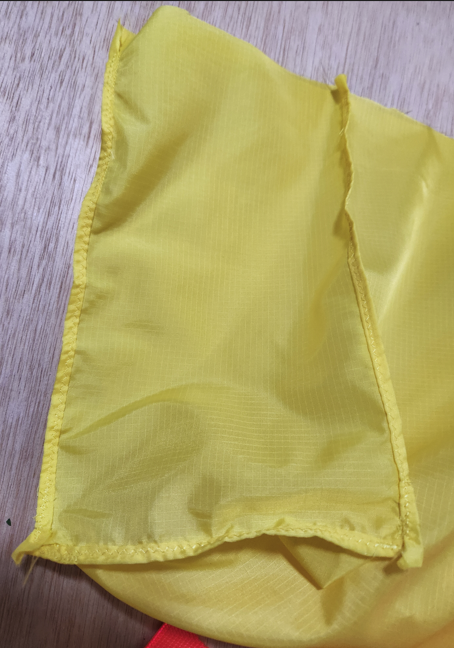
Bring the corner of FRONT to meet corner of SIDE
Pin along the edge
Do this for all four pairs of corners, so that the shape of the bag is formed
Trim a triangle out of the FRONT cloth where it is being pulled too much
Don't cut so far in that you cross the seam allowance
Sew along the pinned edges at seam allowance
Don't go to the edge of the SIDE cloth, leave a seam allowance at the top of the bag
Try to meet the existing bottom seam
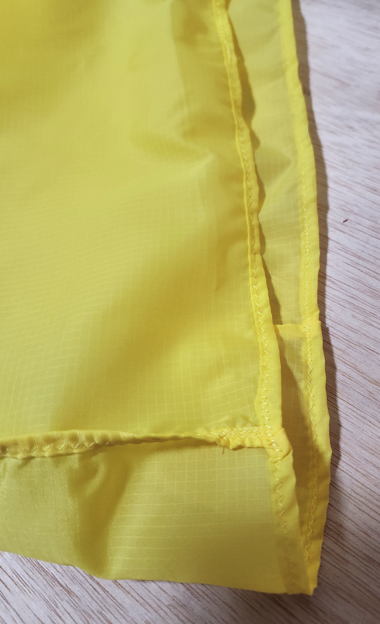
Start with the bottom-of-bag seams
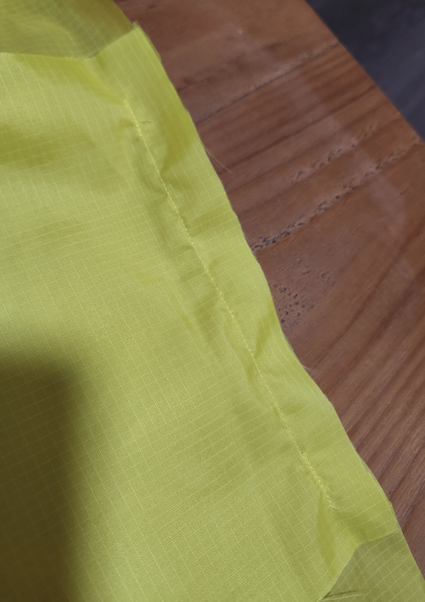
Turn seams in towards the SIDE cloth
Turn in once, approaching the existing seam, then turn again so cloth edges are tucked away
Pin in place
Stitch: zigzag, length 2, width 2
Sew along the pinned edge, staying near the inner edge of the turned cloth
When sewing the bottom-of-bag seam, do not go to the side edges, still leave the seam allowance there

Repeat this along the longer edges
Repeat along the top-of-bag edge
When sewing over the thicker sections (where layers of cloth are folded over), manually turn the sewing machine handle so you can get through the thicker material without breaking the needle
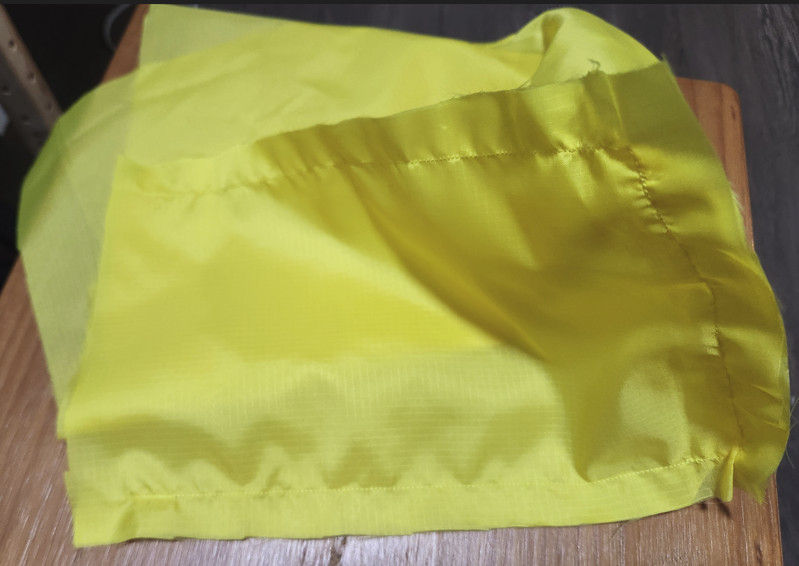
Turn the bag right-side-out
The STRAP is going to form one continuous loop
Turn the STRAP so that it is not twisted on itself
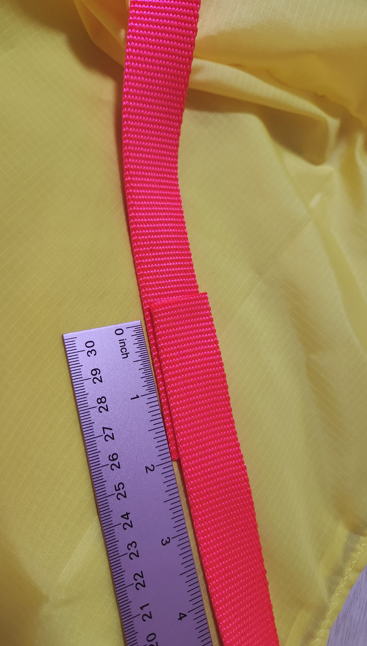
Place the STRAP so that there is a 2" overlap
Pin that in place
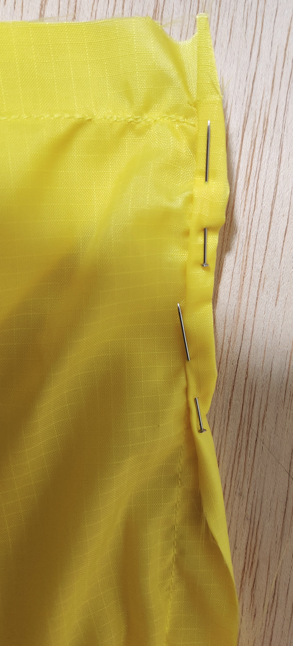
The STRAP will attach to just the FRONT cloth
The inner edges of the STRAP are centered and 3" apart
A 14" length of the STRAP extends above the FRONT cloth as a handle
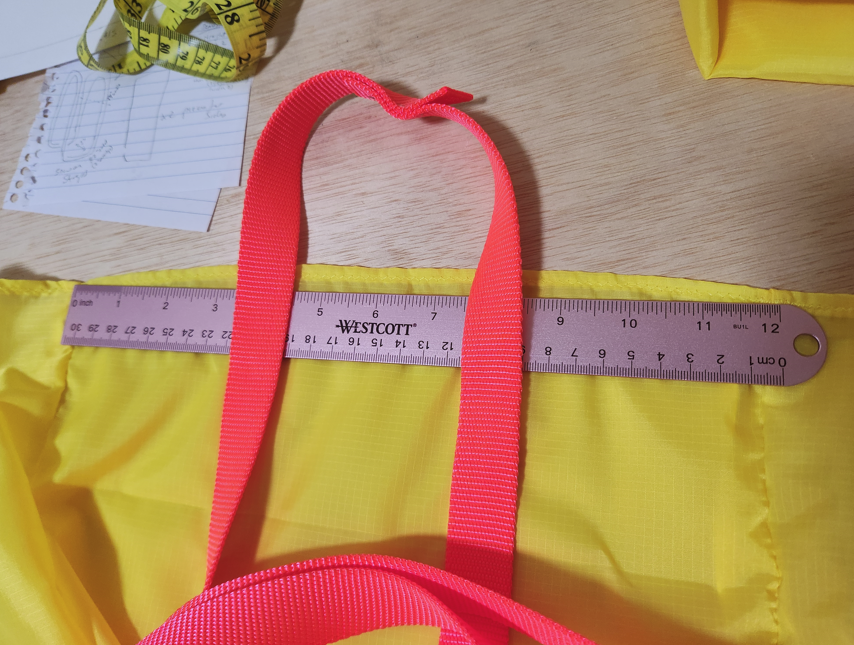
For the final placement, I kept the overlap portion of the STRAP in the "handle" part, but not at the top of handle where my hand will be
Pin the STRAP in place
It loops under the bottom of the bag and comes up the other side to form another handle
Stitch: straight, length 2
Sew the STRAP to itself at the overlap point
I did some back-and-forth reinforcement across the whole overlap for strength
Sew the STRAP to the FRONT cloth
I did some back-and-forth reinforcement across each top-of-bag section for strength
I did one line of stitch along the rest of the STRAP
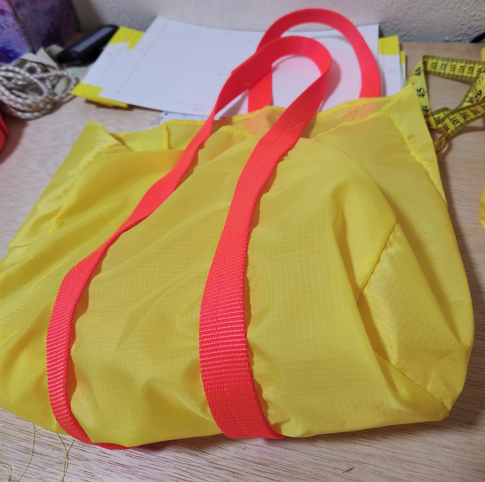
The shopping bag is complete